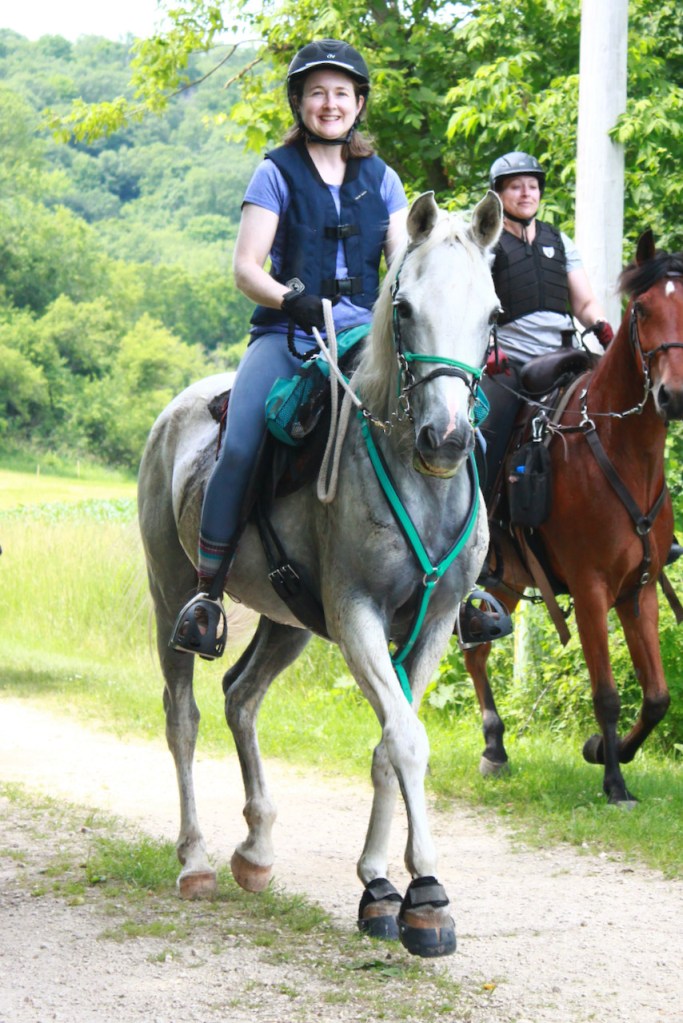
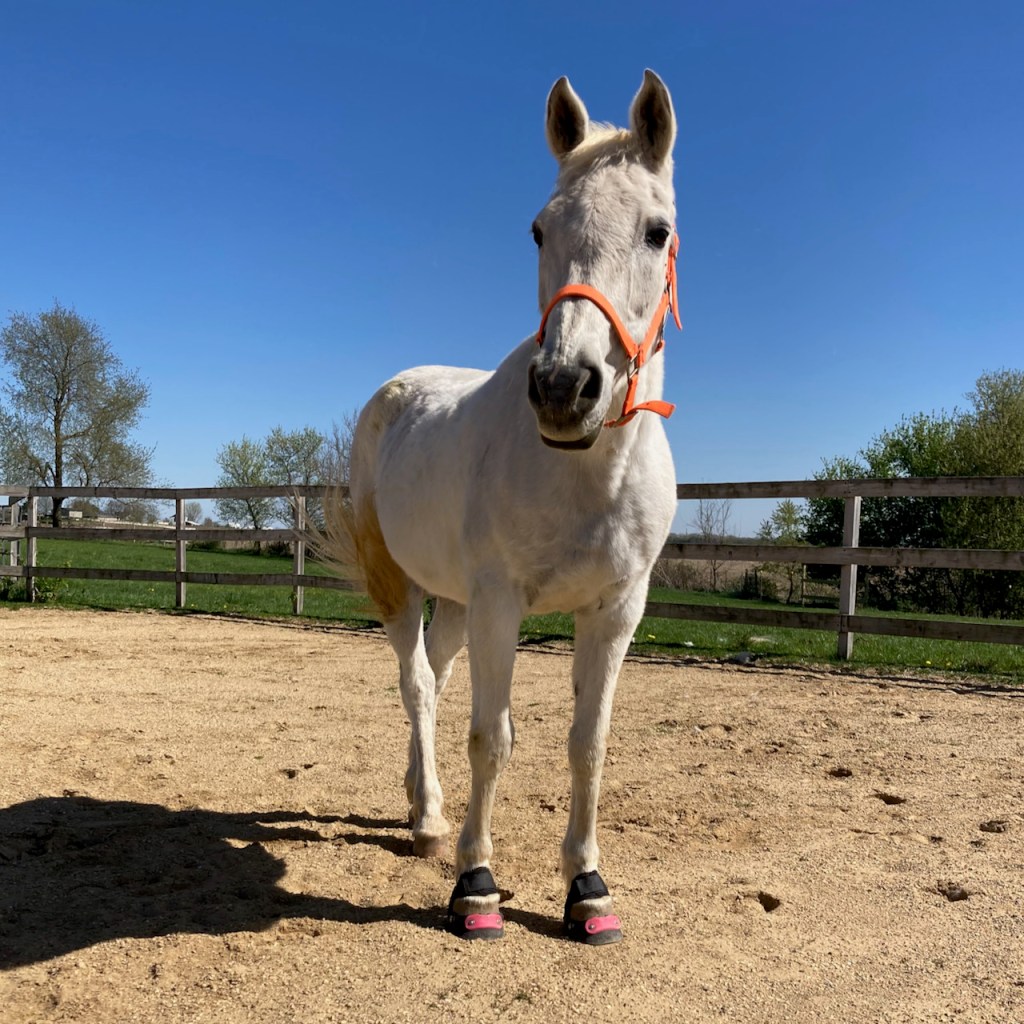
I began using Easyboot Glove Soft hoof boots on my endurance horses in 2021 and boy have I learned a lot since then! At this point, I trust them so much to stay on I barely think about them while riding. To date I have around 385 competition miles on my personal horses in these boots and I have fitted 11 client horses in them … including one mule! Following is my attempt to get everything I’ve learned about the Easyboot Glove Soft out of my brain and on the internet so that others may benefit from my experiences.
General Impression
These boots performed well over every kind of terrain we have in the Midwest … pavement, rocks, gravel, deep sucking mud, water, sand, dirt, hills … steep rocky hills, steep muddy hills, etc etc.
What I like about these boots:
- Rubs from these boots are incredibly rare.
- Sleek, glove-like design that is sized in 4mm increments and two width options for a very close fit.
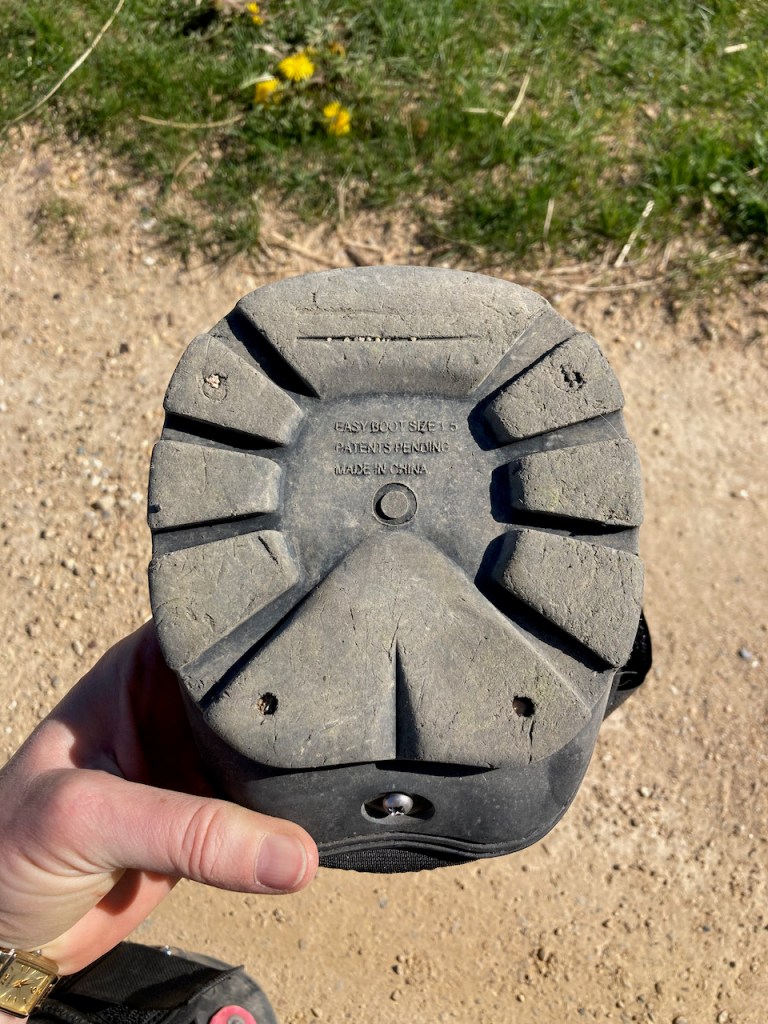
- Simple design with very minimal hardware that can break or catch debris.
- The soft neoprene gaiter is forgiving for horses with high heels, side bone or other heel bulb irregularities.
- Gaiter design prevents loss of boot on the trail (usually).
- Easy to put on once you learn the technique
What I don’t like about these boots:
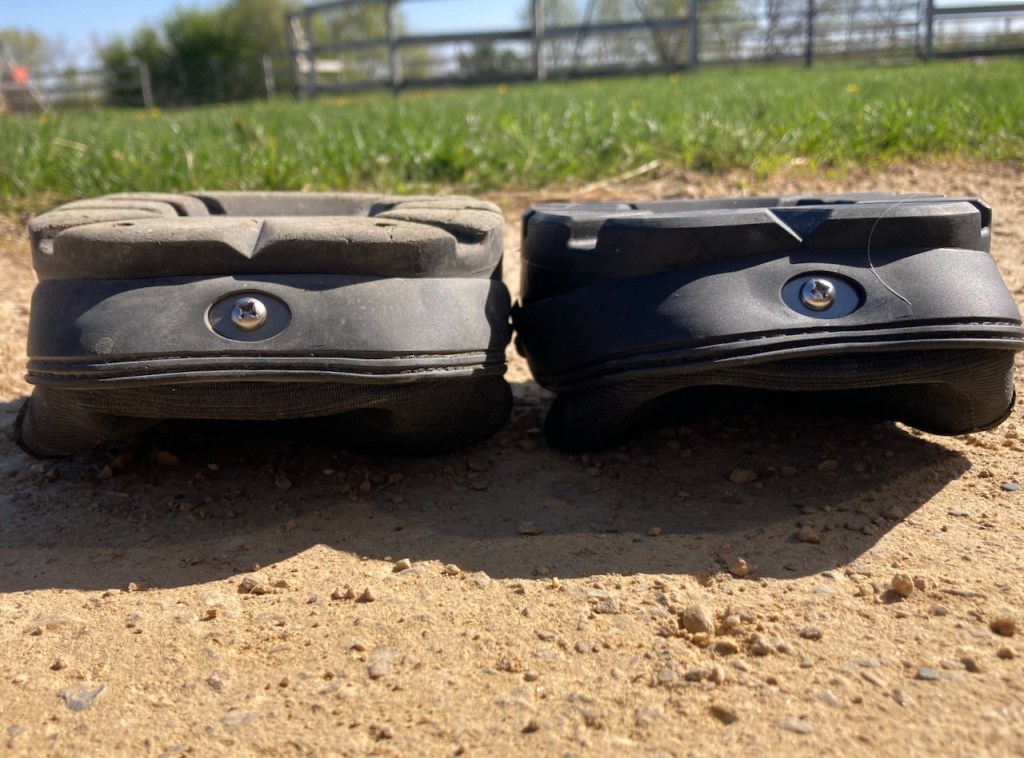
- Gaiters tear easily, especially at the stitching. This must be a weak point in the design or a manufacturing issue. For this reason, it’s a good idea to have spare gaiters on hand. They cost around $40 each. With all the pulling and stretching they are subjected to, they will eventually get pretty worn and sketchy looking no matter what, so you’ll likely be replacing gaiters at some point anyway.
- Not a great option for funky shaped hooves or hooves with a lot of flare. (However heat fitting is an option for a customized fit!)
- Because the fit is so close, you can run into fit and application issues towards the end of your horse’s trim cycle. A shorter cycle or willingness to touch up with a rasp between trims is essential for success with these boots.
- Hard for some people to put on (it’s all about getting the right leverage).
As you can see, some of the advantages of these boots become disadvantages depending on the circumstances. Success really depends on keeping a tight trim schedule, getting the right size—which can be hard to determine when you are new to using these boots—AND you have to get it on correctly.
Getting the Right Size
Easy Care’s size chart for this boot will get you in the ball park but I have found the best way to get the correct fit is to place the actual boot (or fitting shell) on the hoof. (Ok, that’s pretty much a rule across the board for all models of boot) That’s easy for me to do since I have a complete fit kit on hand, but if you are embarking on this journey solo, you’ll save some time if you order a couple of sizes at a time to try.
The main things you are looking for to confirm a good fit are:
- edges of the boot have even contact with the wall of the hoof all around and the front slot is stretched into a “V” shape.
- minimal or no gap in gaiter at the back of the pastern
- The boot should slide onto the hoof with some resistance and, once on, it should feel stuck on and be a little difficult to pull off.
I also highly recommend watching the fitting videos linked at the end of this article for what to look for in a good fit.
Putting them on, taking them off
You’ll have the most success applying these boots if you use two hands to slide the boot on. You can accomplish this by resting the horse’s canon bone on your lap. (If that doesn’t make sense, watch this video: https://youtu.be/OsplV_Ahhyg) Using two hands allows you to get better leverage and press the boot on evenly, reducing the chance it will go on crooked. When you are starting out with these boots, I recommend also having a rubber mallet on hand to tap the toe all the way up into boot. Or you can teach your horse to allow you to tap their toe on the ground after you have slid the boot on.
The best method for removal also requires both hands. After picking up the hoof, grip each side of the boot (not the gaiter) with your fingers and walk straight forward (towards the horse’s hind end). Your horse will naturally pull away and slide his hoof out of the boot. If the boot is fitted correctly, there will be some resistance as you walk, but once you get the hang of it it’s super easy.

Retention
Really, I can’t emphasize this enough: it’s dialing in the fit PLUS application technique that will give you success with this boot.
The most common fit and application mistakes I see with these boots are:
- wrong width … horse is in a regular width and actually needs a wide size
- improper application. People don’t get the boot all the way on the hoof. It’s either not all the way up into the toe of the boot, or it is crooked.
- Gaiters too loose. You can really crank on these things without fear of causing rubs. Usually.
The really interesting thing about these boots is what happens when one does come off … 9 times out of 10 it stays attached at the pastern. You’ll pretty quickly notice the boot making a funky sound as it flops around and hopefully right the situation before any damage is done to the boot. This experience never fazed my horses, but if you have a horse that might freak out about something hanging off his pastern, I recommend some desensitization training in a controlled environment before you hit the trial with these.
Rubs and galls
I personally have never had these boots rub off hair or cause sores on my horses. There were only two incidents of rubs or skin reactions on client horses:
- one horse had raised scar around the its heel bulb which the gaiter rubbed raw
- one mule had a skin reaction under the gaiters at the front of his pasterns. He had competed in the boots with out issue previously so we were a little stumped, but we’ve hypothesized the irritation was caused by sand or debris getting under gaiters that were possibly too-tight.
That reminds me … sand is one of the few conditions I will try to avoid using these boots in. If I know a trail is going to be mostly sand, I’ll choose to forego booting entirely. My horse’s hooves are healthy enough to handle some stretches of challenging terrain without protection. If you are facing a trail with a mix of sand and rock and you really need to boot, be sure to monitor under the gaiters for sand collecting and causing rubs. If there is any gap in the gaiter at the back of the pastern, this is a prime spot for sand to work its way in.
Accessories
The only accessory offered for these boots is the power strap. They are easy to apply if you are minimally handy with tools. I prefer a carbide burr bit for drilling holes in the flexible urethane material, but a really sharp leather hole punch will work as well. The power straps work by snugging up the opening of the boot and reducing the ability of the “V” slot to widen. This snugging means better retention, but the trade off is application can be a bit more difficult. For this reason, I prefer to start clients out with out power straps and only add them if we run into retention issues. The straps can also be a cost-effective option for extending the use of a boot that has become too large … this situation may arise when hooves undergoing a rehab process grow out a tighter wall connection and therefore become smaller overall.
One other nice thing about the power straps is that they can add a pop of bright color to your boots, making them easier to find on the trail if you should happen to lose one.


OK, that’s everything (and a little more) that you need to know to get started with the Easyboot Glove Soft! I hope this article helps you in your booting journey. If you have any questions, please don’t hesitate to get in touch!
***
Additional Resources
Video: The Relativity of Fit for the Easyboot Glove: https://youtu.be/iBvogEVAqEc?si=ylRDS8LXUKJpD6WK
Video: Applying Athletic Tape to an Easyboot Glove https://www.youtube.com/watch?v=M7vUH3qibCo
Video: Applying a Power Strap to an Easyboot Glove https://www.youtube.com/watch?v=zdzIhoGeGss
Video: Replacing a Gaiter on the Easyboot Glove https://www.youtube.com/watch?v=s00clQYzkWs
Video: Easyboot Glove Soft (2018 introduction video) https://www.youtube.com/watch?v=Bpqq6yMDEgc
